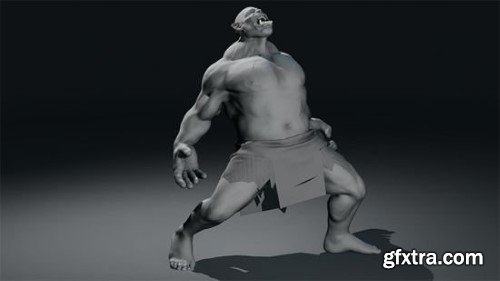
Level-up your 3D lighting skills by watching a premium 6+ hour course that offers a step-by-step guide for setting up cinematic lighting in Blender.
It’s all really simple: lighting is everything! After all in order to see ANYTHING we NEED light. As 3D artists we all know this obvious truth but we're still too often guilty of spending WAY more time on the modeling and barely a thought to the lighting when it's that which makes or breaks a scene.


http://www.patreon.com/vizguru
Car visualization tutorial for 3ds Max and Fstorm.

https://www.thegnomonworkshop.com/tutorials/creating-procedural-environments-in-gaea-and-houdini
The procedural nature of Gaea by Quadspinner empowers 3D artists and matte painters to craft impressive and realistic environments with its powerful tools. Incorporating Gaea into a Houdini workflow, Rasha Shalaby — an Environment Artist and Matte Painter with over 20 years of experience in VFX for film, TV, and game cinematics — uncovers how to create terrain assets such as icy cliffs and rocky terrains that are usually harder to achieve through height-field simulations alone.

https://gumroad.com/l/IgOIz
This tutorial is aimed to solve the mystery of texturing realistic human skin in Substance Painter for a real time character!
In this 2 hour, fully narrated tutorial, you will learn the full process of me making this real time bust, from modeling to final rendering in Iray.

This course introduces Blender’s sculpting tool set and features. Rico walks through his workflow as he takes you through the process to sculpt a typical rock formation. He also covers how to create your own alphas and brushes, enabling you to work as quickly and efficiently as possible.

https://www.artstation.com/learning/series/xa/organic-sculpting-blender
In this 2-part series, Rico Cilliers covers sculpting and retopology of a game-oriented workflow for organic models in Blender. He shares tips, add-ons, and best practices for quickly and efficiently creating great environmental or creature-type organic models.

Creating a large ocean simulation doesn’t need to be daunting. This 3.5-hour introductory workshop by Danny Barnhart provides an overview of the Ocean Toolset in Houdini and reveals how to bring your own ocean environments to life. He talks through the basics of using ocean spectrums and how each parameter relates to the resulting animated ocean surface, beginning by creating a large ocean surface to show how to layer a variety of spectrum patterns as well as how to create custom masks and instanced waves. Once the desired ocean movement is achieved, Danny starts incorporating simple environment geometry to add interest and scale to the scene before delving into simulating surface foam.

It can solve the problem of perspective quickly, as well as
composition, lighting and material, so that the quality of your works.
It has quick and efficient workflow, which can save lots of time.
It has the capability of drawing 2D illustration.

It can solve the problem of perspective quickly, as well as
composition, lighting and material, so that the quality of your works.
It has quick and efficient workflow, which can save lots of time.
It has the capability of drawing 2D illustration.

Arvid Schneider is an established artist, who has been working in the professional VFX industry for more than 10 years. He has worked on big blockbusters like Ready Player One, Jurassic World, Transformers and more.


https://benmaurodesign.gumroad.com/l/UfgR
This demo goes over blocking out an environment in ZBrush starting with a cube which we then use in part two to paint-over to create a production illustration. This was recorded at a live event so there is some background noise and some live questions and answers. For intermediate/advanced users (should know how to use zbrush).

The intention of this course is not to show you how to create cool materials inside unreal engine, but understand them, you will understand why you need to multiply or divide certain numbers and what are the implications of those operations in real time.
We will start by selecting some fonts and prepare the text in Photoshop so we can export it to Cinema4D as a 3D object.
Here you will learn the chromatic style in terms of shape, material and light.
After that we will explore 3 different variations of how the Balloon Effect can be used in a creative way.
In the end we will finalize everything in After Effects and render our animations.
ZBrush is an excellent tool for working with 3D modeling.
The purpose of these tips and tricks was precisely to take advantage of this tool's capacity even more. This course will explore features and functionality often overlooked or unknown by modelers.
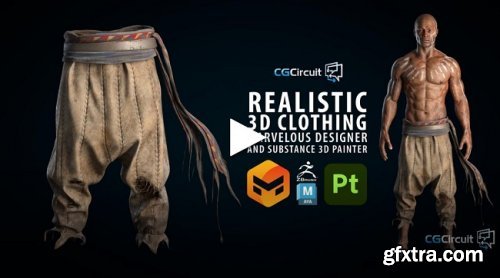
http://www.cgcircuit.com/course/realistic-3d-clothing
In this online course, the viewer will learn how to create realistic torned clothing ready for production using Marvelous Designer, Zbrush, Maya and Substance Painter. We will go through the Marvelous Designer user interface and its main features. Using as an example our character from the previous courses we will create his clothing, we will retopology, sculpt on them and texture them to get them ready to be animated. We will do all the clothing simulation in Marvelous Designer, the sculpting in Zbrush, retopology and UVs in Maya and the texturing in Substance 3D Painter.
It's fantastic to have you on board for this motion graphics journey. We're gonna be diving headfirst into the world of After Effects - that's where the animation magic happens.
And for the cherry on top, we'll dip our toes into Premiere Pro to make those captions pop and dance.
That's why I've crafted this course, to pull back the curtain and reveal the art and technique behind those compelling animations.
The best part? Not only will you be walking away with all the animation secrets up your sleeve, but we're also gonna make our very own animation together. It's like a DIY art project, but digital and...animated.
Ready to channel your inner animation guru? Let's kickstart our first lesson and set the wheels of creativity in motion!
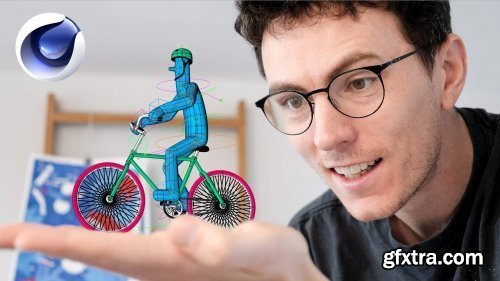
https://www.skillshare.com/classes/Animation-Fundamentals-Rigging-a-Cycling-Character-in-Cinema-4D/983427277
Hellooo! Today we’re going to rig a bike in Cinema 4D! In the last class we rigged a full character, in this class we’ll put that character on a bike ready for some cycling animation.
This class is a follow up to my last class, 'How to rig your first character in Cinema 4D'. I’d really recommend doing that one first, but if you’re here to just get a bike ready for animation then everything is provided in the class materials for you to follow along!
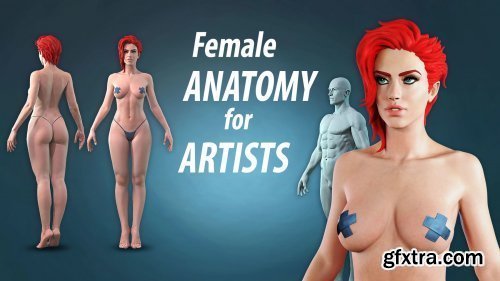
http://www.artstation.com/marketplace/p/5vNY/female-anatomy-for-artists
In this course we will create a female body and head from scratch. I will explain in detail about the proportions, muscles, bones and forms, visible on the surface, without the complication of using all the Latin names, although we will get to know the most important ones. As a bonus we will make a male body out of the female one, to better explain the differences between them. I will also pay attention to the most common mistakes made.
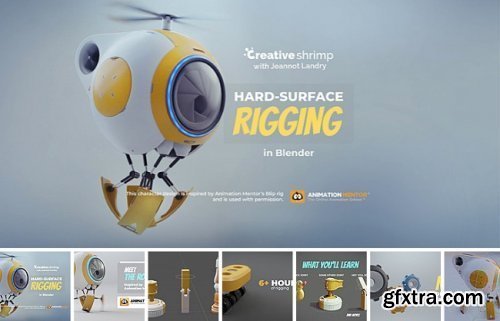
Welcome to the Hard-Surface Rigging in Blender course. This is the beginner’s guide to mechanical rigging in Blender, presented by rigging and animation guru Jeannot Landry and co-produced by the Creative Shrimp team.
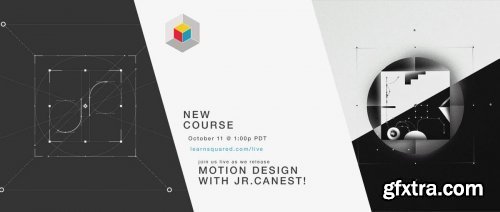
Follow along as motion designer and director Jorge R. Canedo Estrada (AKA Jr.canest) breaks down his motion design process from start to finish, covering project insights, Jorge’s Principles of Motion Design, Photoshop, Illustrator and particularly After Effects to help you create your own animation.
SermonBox - Seasonal Collection

SermonBox - The Series Pack Collection
Top Rated News


Would you like to be a Author?